Turn Your CMU Project Into a Mobile App
A self-paced project where you take a CMU CS Academy Python program and, with help from AI, rebuild it as a real mobile app that runs in the CodeHS preview — and, with teacher permission, on a real phone.
0 Start Here — What You're Building
⏱️ About 10 minutes to read through
Read this first: NO PHONES IN CLASS
Our classroom follows a strict no cell phone policy. You may not use your personal phone during class for this project.
You can complete the entire project using the CodeHS virtual device (preview pane) or a school-provided device if one is available.
You are welcome to test your app on your personal phone at home.
When in doubt, ask your teacher before using any device.
You've spent a whole semester writing Python programs in CMU CS Academy — drawing shapes, responding to mouse clicks, tracking state with variables. In this project, you'll take one of those programs and turn it into a real mobile app.
You will NOT be writing JavaScript by hand. Instead, you'll use an AI assistant of your choice — Claude, ChatGPT, Gemini, Microsoft Copilot, or whatever else is available on your network — to refactor your Python code into mobile code, then fix errors together until the app runs.
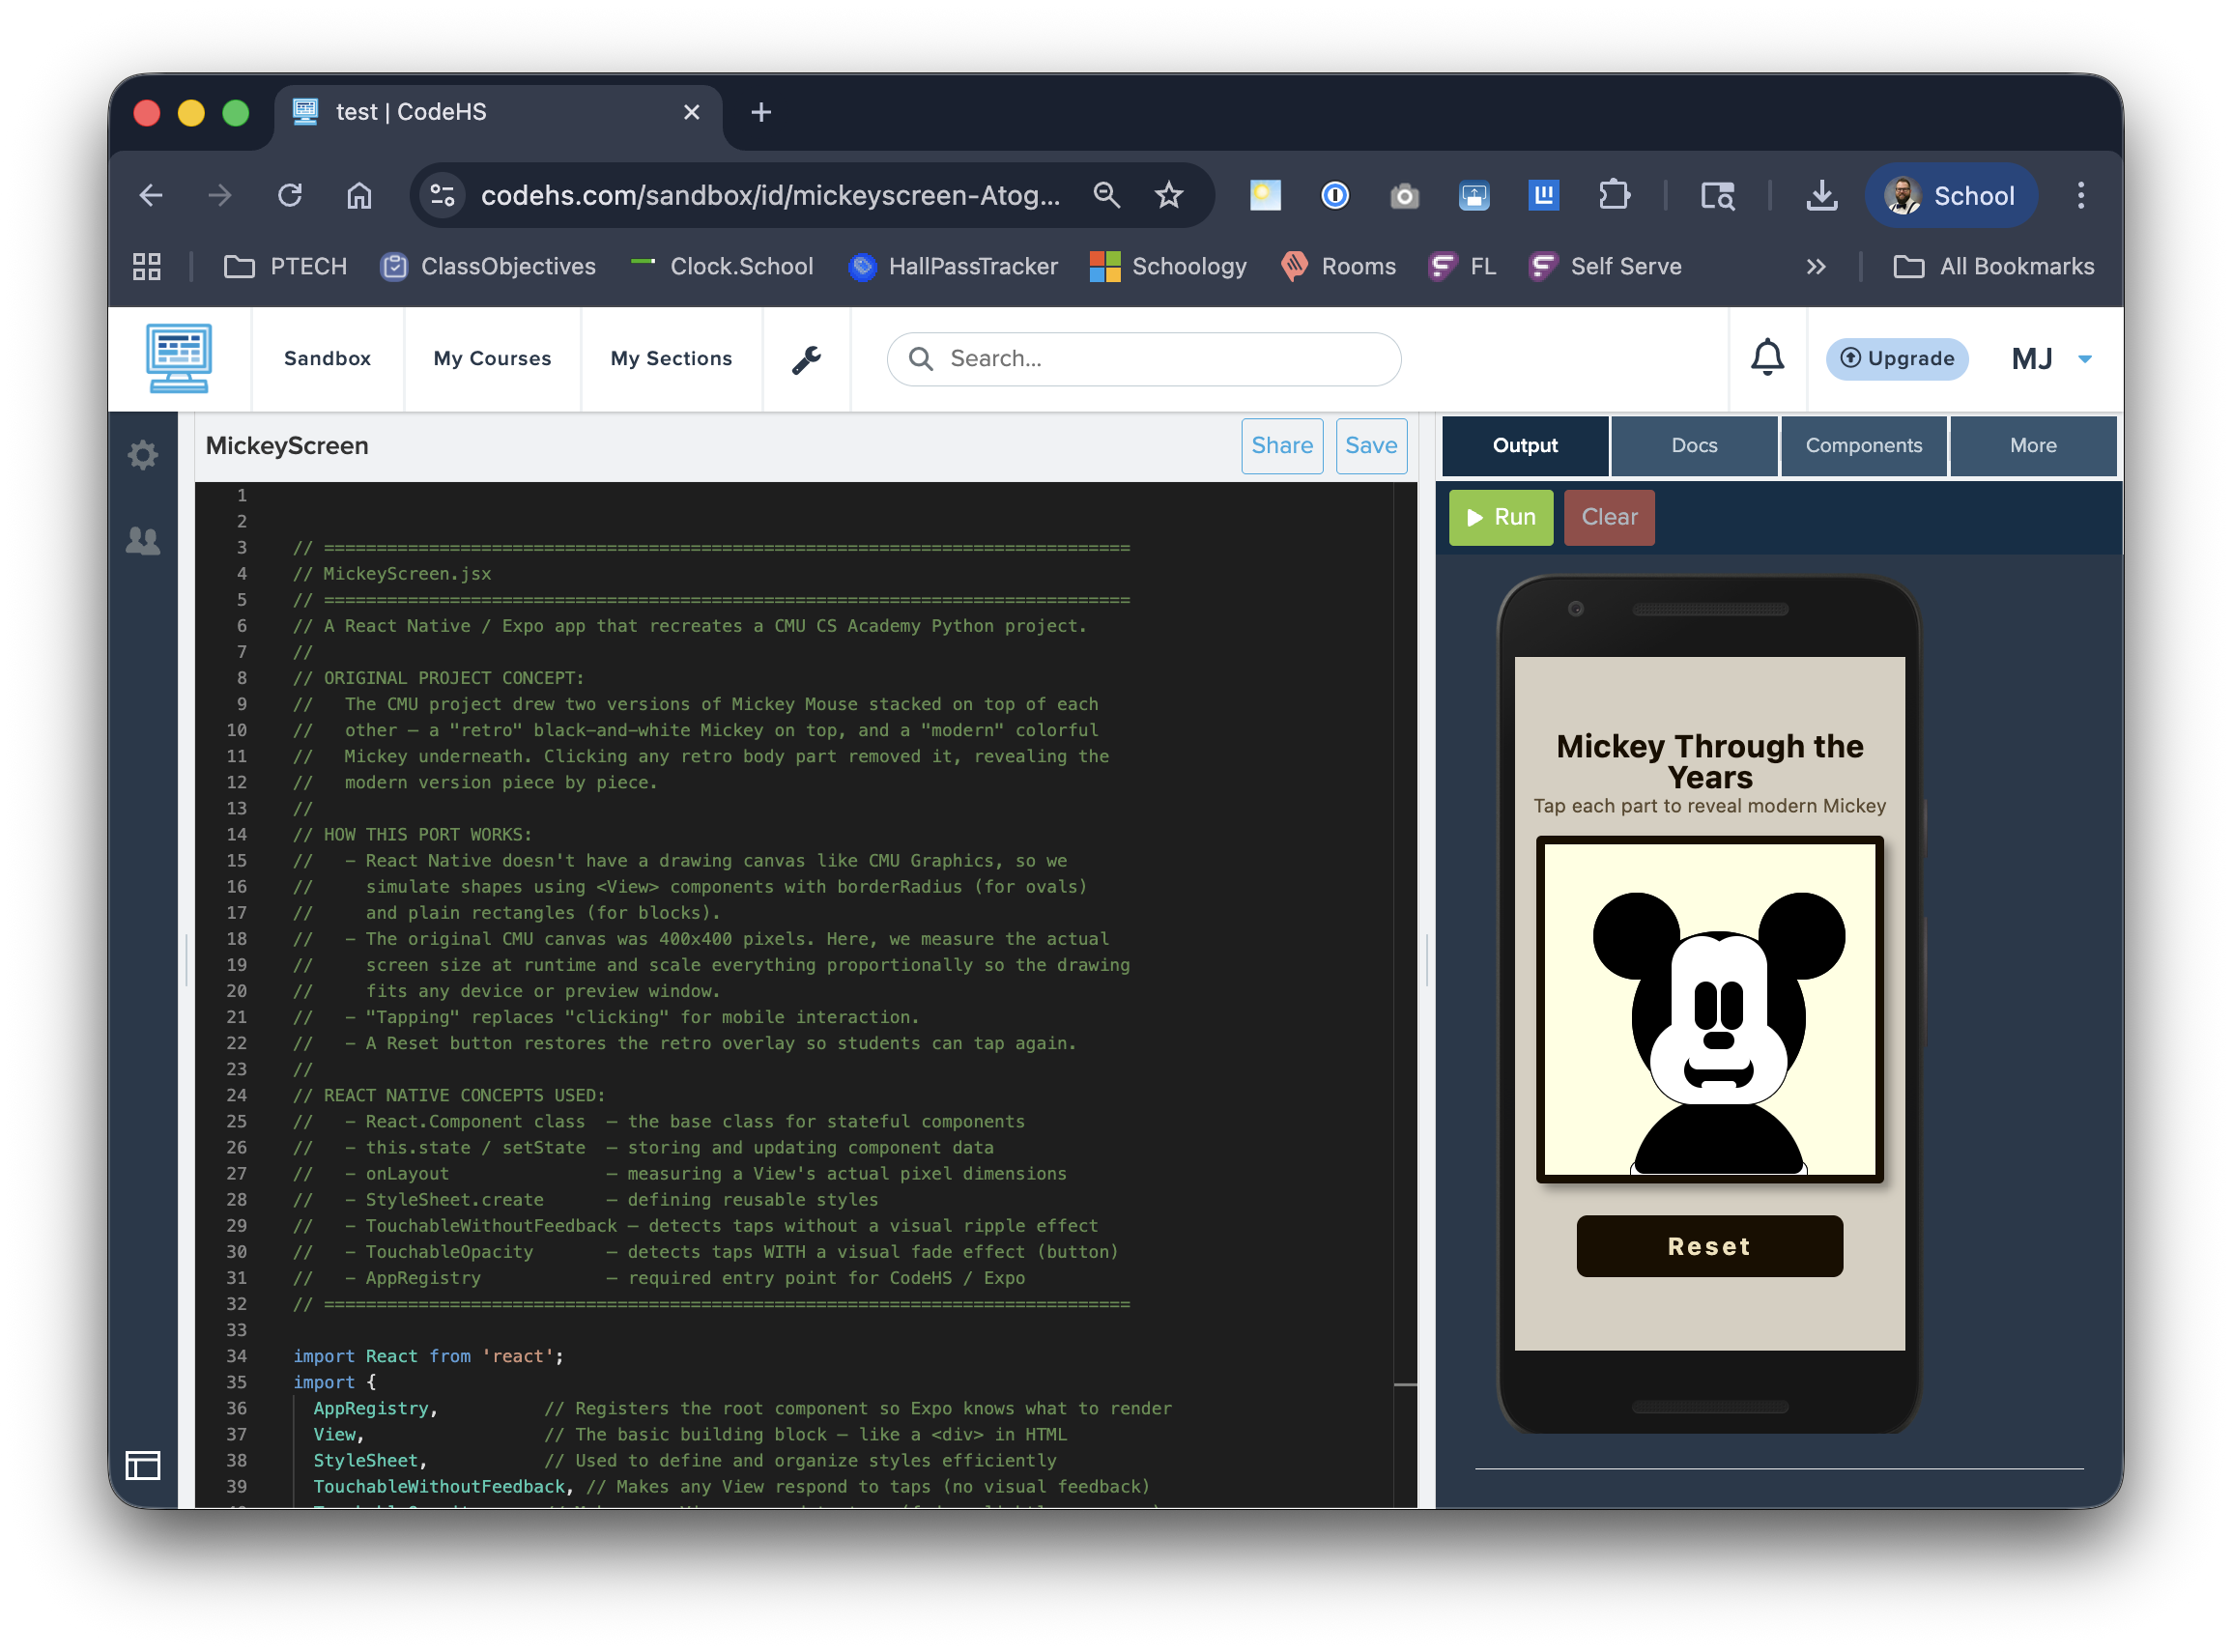
Here's what the finished thing looks like

The example project — a Mickey Mouse app where tapping each part reveals a colorful version underneath.
What you're going to do
- Pick a CMU CS Academy project you've already written (or use the example provided)
- Copy it into an AI assistant and ask it to rebuild the project as a mobile app
- Paste the new code into the CodeHS sandbox
- When the code has errors (it will!), paste the error back to the AI and keep going
- Test it in the CodeHS preview pane (or, with teacher permission, on a real phone using the Expo Go app)
- Write a short reflection about what transferred and what didn't
The real lesson here
The point is not to learn JavaScript. The point is to see that the same programming concepts you've been using all semester — variables, events, conditionals, drawing shapes — exist in every language and on every platform. The words change. The ideas don't.
Warning: the AI will make mistakes
The AI will not get it right on the first try. When I built the example project, it took 6 rounds of fixing errors. That's normal. Your job is to read each error, describe it to the AI, and keep going. This is how real programmers work with AI.
1 Pick the CMU Project You'll Refactor
⏱️ 10 minutes
You have two options. Pick whichever one sounds better to you.
Option A — Use your own project (recommended)
If you've built a creative task or mini-project in CMU CS Academy that you're proud of and that uses shapes and mouse clicks, use it. This will make the project way more interesting to you.
A good project to pick has:
- Several shapes (ovals, rectangles, circles, polygons)
- An
onMousePresshandler that does something when you click - Some kind of change — shapes appearing, disappearing, moving, or changing color
Avoid projects that use onStep animations, loops, or lots of advanced features — those will make debugging much harder. Start simple.
Option B — Use the example Mickey Mouse project
If you don't have a good project to refactor, use the example. Download the starter:
- Download the starter file: cmu-starter.py
- Open CMU CS Academy's IDE and paste the code in
-
Fill in the
onMousePresshandler at the bottom. The solution is redacted — you need to write logic that checks if the click hit any retro part and clears it. Hints are in the file. - Run it and verify: clicking each black-and-white part should remove it and reveal the colorful version underneath
Hint for the Mickey solution
Loop through retroMickey.children. For each part, check .hits(mouseX, mouseY) and call .clear() if it was hit.
Before moving on — make sure:
- You have a CMU CS Academy project that actually runs
- Clicking the canvas does something visible
- You can copy the full Python code to your clipboard
2 Get Signed In to the Tools
⏱️ 10 minutes
You need three tools open. Sign in to each one before you start refactoring so you can move fast later.
Pick an AI assistant
You can use any AI assistant for this project — they're all capable of the refactoring task. Which one you pick comes down to what's actually available on your school network. If one is blocked, try another.
If one is blocked, try another
Different networks block different AI tools. You only need one to work. If your first choice loads a "blocked" page, move to the next one on the list. If all of them are blocked, ask your teacher which one to use.
Use the free / school-approved version
You do not need a paid account. The free tier of any of these is plenty for this project. Do not pay for anything to complete this assignment.
Create a React Native sandbox
- In CodeHS, go to Sandbox
- Click Create a Program
- Choose React Native as the language
- Give it a name (something like "My Mobile App")
- Leave the starter code that appears — you'll replace it in Step 4
Install Expo Go on your phone — ONLY if phone use is approved
Skip this section if you do not have teacher permission to use your phone
If phone use is not approved for you, do nothing here — you'll use the CodeHS preview pane instead in Step 6. You can still complete the whole project.
If your teacher has approved phone use for this project, Expo Go is the app that runs your React Native code on your phone. You can install it now or wait until Step 6.
- iPhone / iPad: Open the App Store → search "Expo Go" → install
- Android: Open Google Play → search "Expo Go" → install
Before moving on — make sure:
- You are logged into all three tools (three browser tabs is easiest)
- You have a blank CodeHS React Native sandbox open
3 Ask the AI to Rebuild It as a Mobile App
⏱️ 5 minutes
This is where the magic starts. You're going to copy your CMU Python code and paste it into the AI assistant you picked in Step 2, along with a specific prompt.
- Copy all of your Python code from CMU CS Academy (Ctrl+A then Ctrl+C, or Cmd+A then Cmd+C on Mac)
- Open your AI assistant (Claude, ChatGPT, Gemini, Copilot — whichever one you're using) and start a new chat
-
Paste this prompt, then paste your code at the end where it says
[paste your code here]:
Why this prompt is specific
The constraints in this prompt come from 6 rounds of debugging I already did for you. Including them upfront saves the AI (and you) a lot of back-and-forth. If you skip them, you'll just hit those same errors yourself — no matter which AI you use.
- Wait for the AI to respond. It will output a big block of JavaScript/JSX code.
- Copy the AI's code (not the Python, the JSX it just wrote). Click the copy icon on the code block, or select it all and copy.
Before moving on — make sure:
- The AI has given you a big block of React Native code
- You can see
class App extends React.Componentsomewhere in the code - You've copied the code to your clipboard
4 Paste Into CodeHS and Run It
⏱️ 5 minutes
- Go to your CodeHS sandbox (the React Native one you made in Step 2)
- Delete all the starter code that's already there (Ctrl+A, Delete)
- Paste the AI's code
- Click the Run button (usually a ▶ play icon at the top of the editor)
CodeHS sandbox — your code goes on the left, the preview shows on the right.
One of three things will happen
5 Debug With Your AI (the Main Skill)
⏱️ 20–40 minutes (most of the project happens here)
This step is the real skill of the whole project. You're going to have a conversation with your AI assistant where you describe problems and it suggests fixes.
The debugging loop
Repeat this until the app works:
- Read the exact error message in CodeHS. Copy the full error — don't paraphrase.
- Go back to your AI chat (same conversation as Step 3, not a new one)
- Paste the error like this:
I pasted your code into CodeHS and got this exact error: [paste error message here] Can you fix it?
- Copy the updated code the AI gives you
- Replace everything in CodeHS with the new code
- Run it again
Include the WHOLE error message, word for word
"It didn't work" is not enough. "Here is the exact error: TypeError: _react2.default.useState is not a function (240)" gives the AI something to actually work with.
Errors you might see (and roughly what they mean)
These are the six I hit when I built the example. Yours may be different — that's fine.
Missing the line that tells CodeHS what to run. Ask the AI to add AppRegistry.registerComponent.
The main component is called something else (like MickeyScreen). Ask the AI to rename it to App.
CodeHS doesn't support modern React hooks. Ask the AI to rewrite using ES5 class syntax with this.state.
Code is using react-native-svg, which isn't available. Ask the AI to use <View> with borderRadius instead.
Works in the CodeHS preview but not on a real phone. Ask the AI to add module.exports.default = App.
Hard-coded screen sizes. Ask the AI to use onLayout instead of Dimensions.get.
If you're really stuck after 8+ rounds
Try starting a fresh chat with your ORIGINAL Python code and an even more specific prompt. Sometimes the conversation gets tangled and a clean restart helps. You can also try a different AI tool — sometimes one AI gets stuck on a problem another one solves easily. And you can compare against the known-working example to see what the final code should roughly look like.
You're done with this step when:
- No error messages appear in CodeHS
- You can see something in the preview pane
- If your project was interactive (clicking, tapping, etc.), that interaction works in the preview
6 Test Your App
⏱️ 10 minutes
Phone use requires teacher permission
Two paths below. Path A uses your phone and requires explicit teacher approval (our class and state policy prohibit personal phone use without it). Path B uses only the CodeHS preview on your school computer and is the default — pick this one if phone use is not approved for you.
Both paths earn full credit. Ask your teacher first if you are not sure which path applies to you.
Path A — Run on a real phone (only with teacher permission)
If your teacher has explicitly approved phone use for this project, you can put the app on an actual device.
- Install Expo Go on your phone or tablet if you didn't already (App Store for iPhone/iPad, Google Play for Android)
- In CodeHS, click the "Share" button (usually near the top). This gives you a shareable link.
- On your phone, open Expo Go, then either scan the QR code or paste the CodeHS link
- Wait for it to load (first load can take 30+ seconds)
- Test the interaction — tap, click, whatever your project does. It should work the same as in the CodeHS preview.
- Take a screenshot of the app running on your phone — you'll need it for Step 7
Path A: your app running on a real phone via Expo Go.
Phone and computer must be on the same Wi-Fi
Expo Go loads your code from CodeHS over the network. If your phone is on cell data and your computer is on school Wi-Fi, they may not connect. Put your phone on the school Wi-Fi.
Works in CodeHS preview but not on phone?
This was "Round 5" and "Round 6" in the debugging log. Go back to Step 5 and tell your AI: "It works in the CodeHS preview but not in Expo Go on my phone."
Path B — Test in the CodeHS preview pane (no phone needed)
If phone use is not approved for you, this is your path. You'll test the app entirely in the CodeHS preview. This earns full credit — the CodeHS preview simulates a phone screen and runs the same code.
- In CodeHS, make sure your app is running in the preview pane on the right side of the editor
- Test every interaction in the preview — click each part that's supposed to do something, confirm state changes work, confirm the Reset button (if your project has one) works
- Test edge cases — what happens if you click the background? What happens if you click rapidly? What happens when everything has been interacted with?
- Take a screenshot of the CodeHS preview showing your app working — you'll need it for Step 7
Path B: the CodeHS preview pane simulates a phone and runs the exact same React Native code.
You're done with this step when:
- Your app runs without errors (on a phone if Path A, in the CodeHS preview if Path B)
- You've tested every interaction and confirmed it works
- You have a screenshot saved — either of the phone (Path A) or the CodeHS preview (Path B)
7 Reflect & Submit
⏱️ 15–20 minutes
The coding is done. Now the most important part: thinking about what you just did.
Answer these four questions
Write at least a few sentences for each. Answer honestly — "the AI got it right every time" is not a believable answer.
Think about things like: variables, if statements, event handlers, drawing order, state.
For example: mouse events → touch events, or Ovals → Views with borderRadius.
Name which AI you used (Claude, ChatGPT, Gemini, Copilot, etc.). Describe at least one specific error, what the error message said, and how you figured out what to ask the AI to fix it.
What did you contribute that an AI can't? This is the most important question.
What to submit
- Screenshot of your app running (from Step 6) — on your phone if phone use was approved for you, or of the CodeHS preview pane if not. Both earn full credit.
- CodeHS Share link to your finished sandbox
- Your answers to the four reflection questions above
Submit through the usual class system. Check with Mr. Johnston if you're not sure which one.
Bonus challenge (optional)
Change something about your mobile app that makes it better on a phone than on a desktop. Examples: use the phone's full screen, add haptic feedback on tap, change the layout for portrait vs landscape, add a cool-looking title bar. Describe what you did in your reflection.
You're done!
- You took a Python project and turned it into a mobile app
- You worked with an AI through an actual debugging process
- You saw that programming concepts translate across languages
- You shipped something that runs on a real device
That's a real engineering workflow. Nice work.